November 28, 2013

Happy Thanksgiving!

For those of you that celebrate, Happy Thanksgiving!
IMG_0997
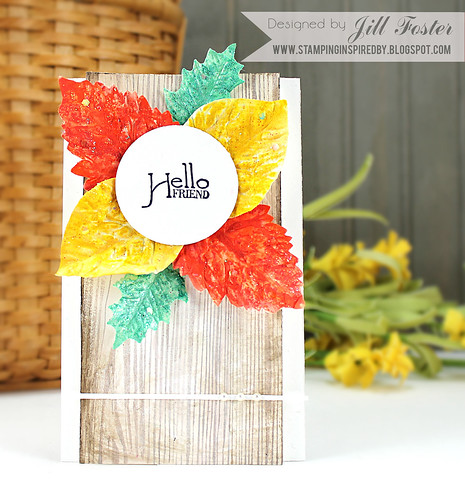
I'm taking a break from the Christmas Creations today to share an autumn-ish card.
IMG_0996
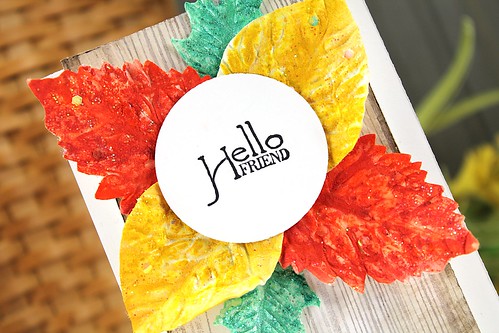
I colored Prima's leaf embellishments with Faber-Castell Design Memory Craft Gelatos and created the woodgrain background by first stamping in dark brown (Penny Black) and then adding a layer of Gesso and a bit of Chocolate Gelato on top.
And in the spirit of Thanksgiving, I want to send an EXTRA thanks and hugs to all of you who support me through your visits, Facebook love, and emails. It means so much!!

November 27, 2013

Christmas Creations: Day 11

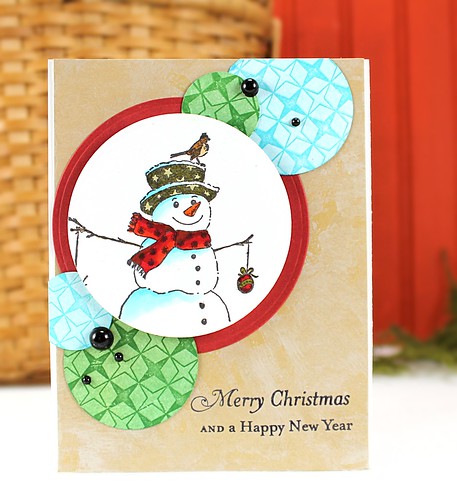
In case you didn't notice (ha!), I love adding circles onto my cards. They are such a fun design element.
Fan Favorites
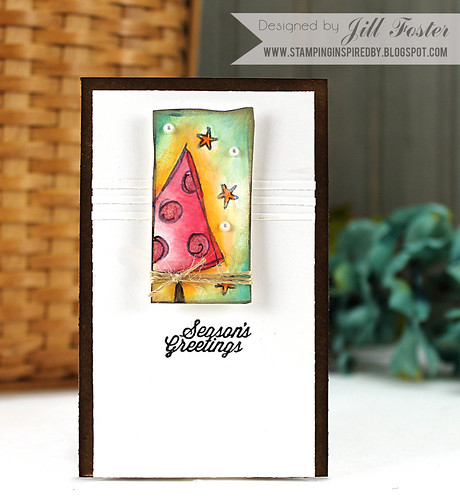
I stamped my image (Penny Black 4106K Happy Soul) using Memento Tuxedo Black ink and colored with Copic markers.  The patterned circles were stamped (Penny Black 40-086 Retro Pattern) using VersaMark ink and then colored with Pan Pastels.  Finally,  to give some texture to the background (Penny Black Mix and Match Cardstock), I dabbed it with Picket Fence Distress Paint in an uneven pattern.
Thanks for your visit!

November 26, 2013

Christmas Creations: Day 10

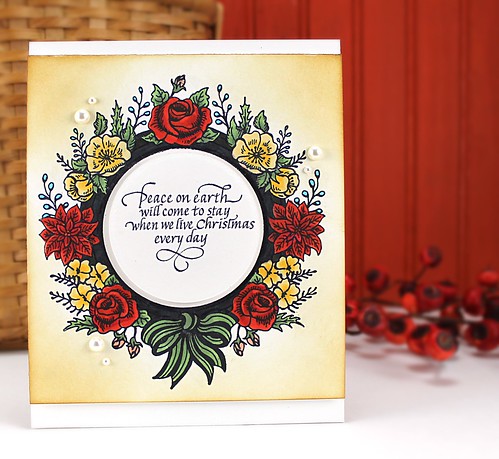
Penny Black's 40-168 Holiday Delight is so fun to color...
Fan Favorites
I colored this image using Copic markers.  I then distressed the edges using Brushed Corduroy Distress Ink.  The sentiment, stamped onto a die cut circle (Spellbinders) is also by Penny Black, 40-032 Peace Every Day. A few pearls add a finishing touch.
Hope you're having a wonderful day.
HUGS!

November 25, 2013

Christmas Creations: Day 9

Time for more Christmas Creations...
Today I have another clean and simple card for you.
Fan Favorites
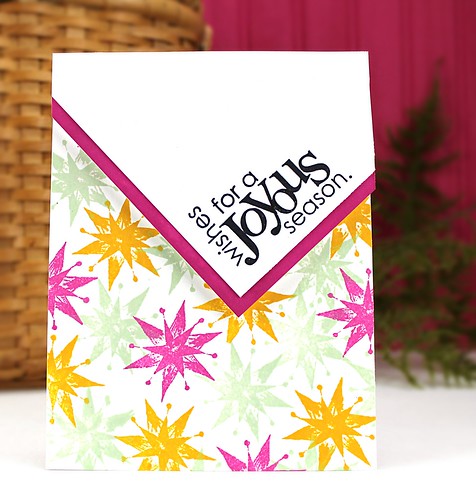
I stamped Penny Black Joyous using Palette and Ranger Archival inks to cover the bottom of my notecard. Then I simply stamped the sentiment, added it to a piece of cardstock, and layered it onto my notecard using dimensional adhesive.
Have a great day and see ya tomorrow!

November 22, 2013

Christmas Creations: Day 8

Happy Friday!!
Today's Christmas Creation features Penny Black 4113K Wherever You Are.
Fan Favorites
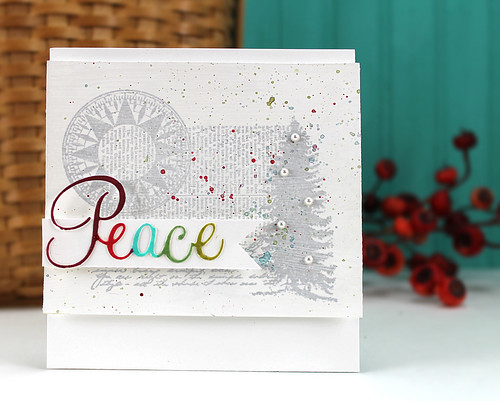
I stamped Wherever You Are using Palette Charcoal Ink onto white cardstock.  I then applied a thin layer of Gesso over this stamping to tone it down.  I added paint splatters and also my die cut image (Penny Black 51-021 Love & Joy) which was colored with Copic markers.
Wishing everyone a wonderful weekend... thanks for stopping by!

November 21, 2013

Christmas Creations: Day 7

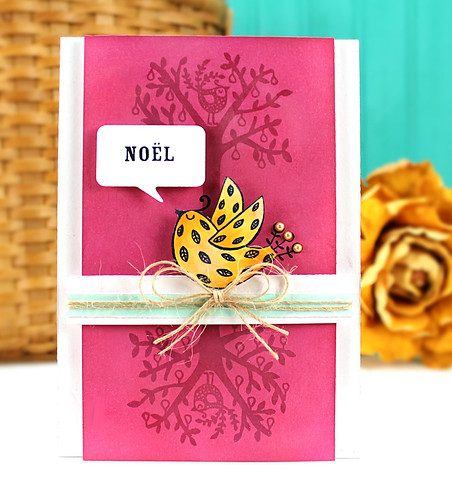
On today's card I've used Penny Black's In a Pear Tree as well as their Creative Dies Chat Bubbles.
Fan Favorites
I first stamped the tree image onto white cardstock using VersaMark Ink.  Then I added Pan Pastels on top.  The areas stamped in VersaMark appear darker.  The bird was stamped with Ranger Archival Ink, colored with Copics, and then cut out.  A bit of May Arts Jute finishes things off.
See you tomorrow!!

November 20, 2013

Inchie Arts: Wonder of Christmas ATC

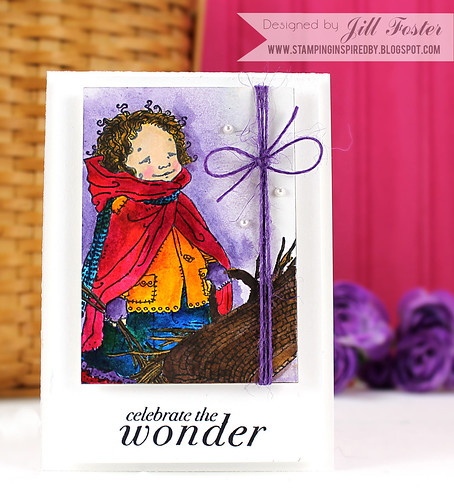
Today I'm working on a white ATC sized Art Square by Inchie Arts using Dr. Ph. Martin's Hydrus Watercolors.  I first stamped my image (Penny Black 40-264 Gathering, illustrated by Mo Manning) using Ranger Archival Black Ink and then I added my watecolors.  For the skin-tone I used Faber-Castell Design Memory Craft's Peach Gelato.  I wrapped the ATC with May Arts Jute and added a few pearl "snowflakes" to finish things off.  Because the Art Squares are thicker than cardstock, they add just enough extra dimension so that a clean and simple card such as this needs only a sentiment and a white card base to be complete.
IMG_1005

For more Inchie Arts inspiration visit their BLOG and FACEBOOK page.

Thanks for popping by!

November 19, 2013

Christmas Creations: Day 6

I have for you today a very simple card...
IMG_1008
Full details on the Ribbons Unlimited blog.  
Have a wonderful day, my friends.
I'll see you tomorrow with a new Inchie Arts creation!

November 18, 2013

Christmas Creations: Day 5

Time for more Christmas creations this week... here's a gift tag!
IMG_1010
You can find all of the details on the Ribbons Unlimited blog HERE.
Have a good one!

November 15, 2013

Inchie Arts: Grungy Christmas

I have been in the mood to play with all things distress/grunge, so today I reached for a 4" Inchie Arts white Art Square (perfect for LOTS of distress media) and my Distress Markers, Distress Ink, and Distress Paint.
And yes, you read that right, a 4" Art Square!!
By popular demand, Inchie Arts is testing a 4" Art Square. They are not available for purchase yet, because they are seeking feedback on introducing this new size. If you think they should make these available please leave a comment on the Inchie Arts facebook page.  
Here are the layers on my Art Square: 
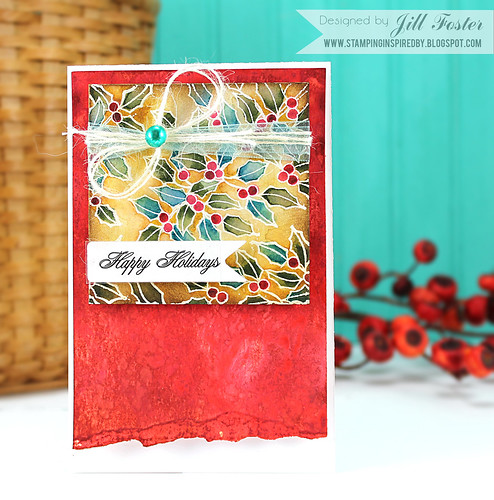
1. Stamping and embossing (Penny Black 40-187 Holly Tree)
2. Distress Markers (Peeled Paint, Broken China, Barn Door, Worn Lipstick, Wild Honey) and water 
3. Distress Ink (Brushed Corduroy, Gathered Twigs)
I especially loved that with the Art Square that I could go back without any problem to add Distress Ink using an ink blending tool and a foam pad even though I had already watercolored on the Art Square surface.  No "piling" or textural problems.... 
IMG_0999
To finish off my card, I used Distress Paints and Distress Ink to create the red background (Spun Sugar, Barn Door, Fired Brick, Gathered Twigs).  Sentiment by SRM Stickers (#55002 Christmas), ribbon by Ribbons Unlimited, and jute by May Arts.
 For more Inchie Arts inspiration visit their BLOG and FACEBOOK page.

November 14, 2013

Christmas Creations: Day 4

Today's Christmas Creation features a watercolor look...
Fan Favorites
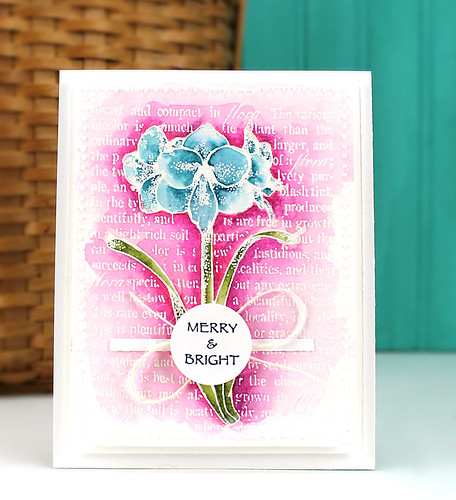
I stamped Penny Black 4210K Floral Story using VersaMark Ink and heat embossed with white powder.  I colored it in using Distress Markers and then added water to blend.  To create the look that the outer edges fade to white, once the watercoloring was dry, I added Gesso to the outside edges using my finger.  Lastly, I pierced the edges for a touch more texture.
I sure appreciate your visits!
I'll be back tomorrow with a new Inchie Arts creation...

November 13, 2013

Christmas Creations: Day 3

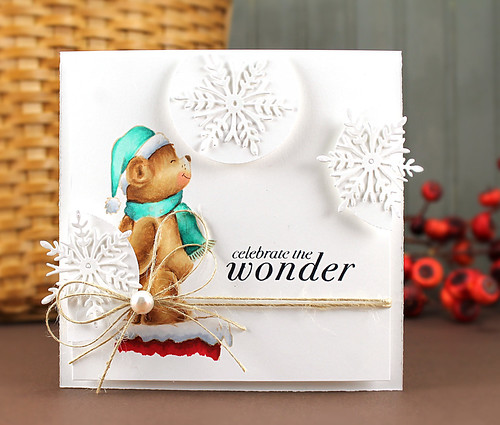
I've been wanting to try some no line coloring with my Copics for some time now, so I gave it a go with this cute teddy bear (Penny Black 4101K Give Us a Kiss).
Fan Favorites
Once my coloring was finished I embellished with punched circles, snowflakes (Penny Black Creative Dies Snowflake Trio) and May Arts Jute.

Have a great day...
see you tomorrow!

November 12, 2013

Christmas Creations: Day 2

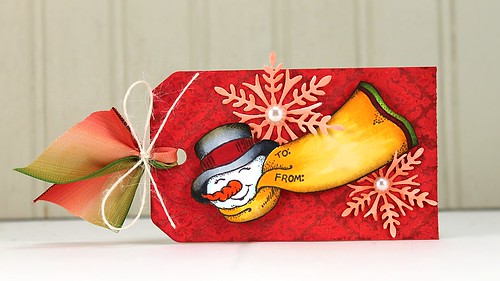
Usually I am not ready for Christmas until at least the day after Thanksgiving but for some reason, this year, I'm ready now!  Maybe it's the cold, wet weather we've been having.  With that being said, I've really enjoyed my Christmas cardmaking so far. Here are a pair of tags I created using Penny Black 40-029 Christmas Giving, 40-170 Harmony, and 51-007 Tagged:
Fan Favorites

Fan Favorites
To begin, I stamped the tags using the Harmony background and Distress Paint (Barn Door and Wild Honey).  Once dry, I added Distress Inks over the top.  The areas stamped in paint acted as a resist.  My two "tags" were stamped with Memento Tuxedo Black Ink and then adhered using dimensional adhesive after being colored with Copic markers and cut out. To embellish each tag I used Penny Black Creative Dies Snowflake Trio and Dancing Leaves.  Finally, I added Ribbons Unlimited Ombre Ribbon and May Arts jute.

Thanks for your visit! 
HUGS!

November 11, 2013

Christmas Creations: Day 1

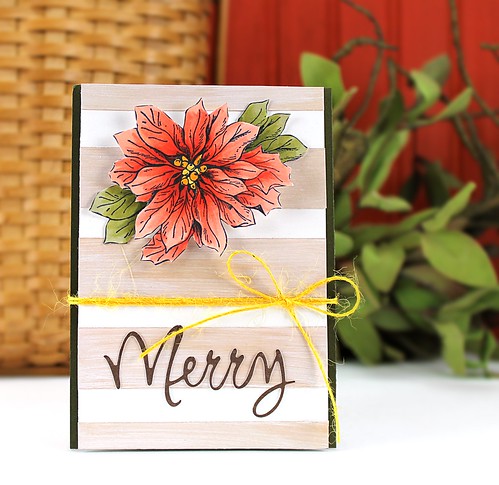
Hi all! This week I will be sharing a few Christmas cards I made using stamps from Penny Black's club member event, Fan Favorites.  I have been loving the look of bold cardstock stripes so I gave it a go on this card--
Fan Favorites
I began by stamping the poinsettia (Penny Black Banner of Joy) with Memento Tuxedo Black Ink and coloring with Copic markers. It was then cut out and adhered to my cardbase using dimensional adhesive.  The sentiment was die cut (Penny Black Love & Joy) and adhered using my Zig Glue Pen (love that tool!).  And to finish things off I added a touch of May Arts Jute.

Thanks for popping by! 
See ya tomorrow!

November 8, 2013

Studio Sessions: PITT Pastel Pencils, 4 of 4

It's our final day of Studio Sessions featuring PITT Pastel Pencils, but don't worry... we've already got plans for more fun in the studio!
Studio Sessions

Studio Sessions
Faber-Castell Design Memory Craft PITT Pastel Pencils
Additional Design Memory Craft Inspiration on their BLOG and FACEBOOK PAGE
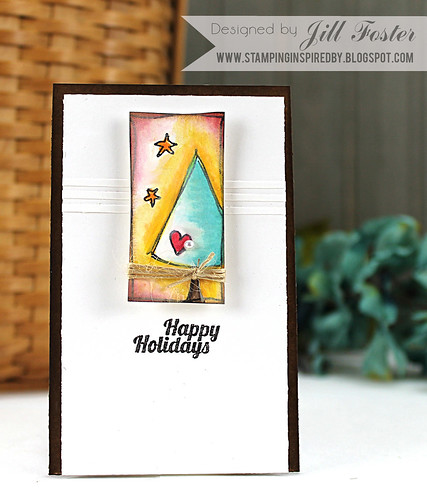
Using Penny Black's T for Transparent set 30-197 Festive Forest, I decided to do some mix and matching with my PITT Pastel Pencils and other Faber-Castell Design Memory Craft mediums including Gelatos and Gesso.  Here's a look at my pair of cards.
Studio Sessions

Studio Sessions
I began by stamping the images onto white cardstock and coloring them with the PITT Pastel Pencils. I also colored around the trees with the PITT Pastel Pencils as well. I then added a touch of Gesso to the background using a small paint brush. This helped blend my background coloring. Once dry, I colored with my Gelatos onto my acrylic block, added water, and painted onto the background and trees for additional shading.  May Arts Jute finishes off these mini cards.
I'm dying what Elizabeth has up her sleeve for our final PITT Pastel Pencil Studio Session; aren't you?  Let's head on over!
Studio Sessions

November 7, 2013

Studio Sessions: PITT Pastel Pencils, 3 of 4

I'm having so much fun this week!
I hope you're enjoying this feature as much as me. :)
Studio Sessions

Studio Sessions
Faber-Castell Design Memory Craft PITT Pastel Pencils
Additional Design Memory Craft Inspiration on their BLOG and FACEBOOK PAGE
I particularly like the way the PITT Pastel Pencils blend with my Inchie Arts Art Squares so today I've used a light grey ATC sized Art Square.  I began by stamping Penny Black 4346K Warm Wishes onto the Art Square with Black Ink. I colored the image with the PITT Pastel Pencils.  To add variation in the colors of the petals, once I finished coloring them in red and orange, on a few select petals I colored directly on top with the white PITT Pastel Pencil.  For the background, I colored just a touch of blue around the flower and then blended this by coloring heavily with the white PITT Pastel Pencils. My sentiment (Penny Black 30-199) was stamped on a Spellbinders die and embellished with May Arts Jute and a couple of pearls. The card base background features Penny Black 40-250 Jolly Chant.
Studio Sessions
And don't miss this...
Studio Sessions

November 6, 2013

Studio Sessions: PITT Pastel Pencils, 2 of 4

The fun continues...
Studio Sessions

Studio Sessions
Faber-Castell Design Memory Craft PITT Pastel Pencils
Additional Design Memory Craft Inspiration on their BLOG and FACEBOOK PAGE
Today I've used the PITT Pastel Pencils on an Inchie Arts grey ATC Art Square.  I love that the color is still vibrant, even when coloring on a dark surface.
Studio Sessions
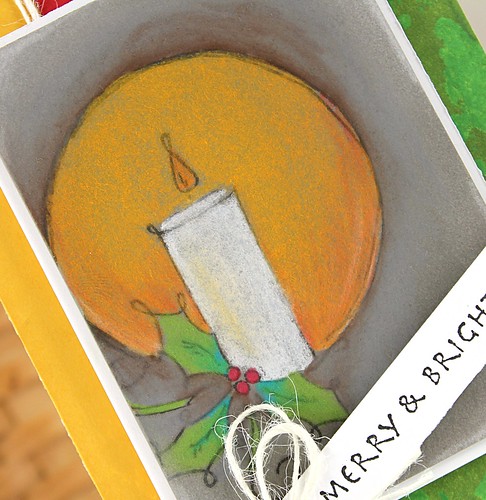
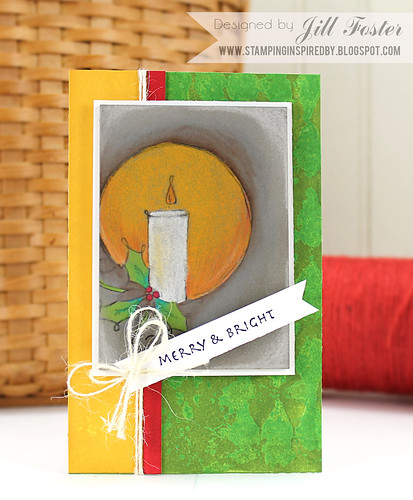
To begin, I stamped Penny Black 30-196 Christmas Wishes onto the Art Square in black ink. I simply colored in the image using the PITT Pastels, starting with my darker colors and then blending with the light. My favorite part was coloring that candle white!  To finish off the Art Square, I colored with the white PITT Pastel Pencil around the outer edges and blended the color by rubbing my fingertip on the piece after coloring.
Studio Sessions
I wonder what Elizabeth's cooked up today...
Studio Sessions

November 5, 2013

Studio Sessions: PITT Pastel Pencils, 1 of 4

Hello, my friends! Today is the official debut of something I'm soooo excited about...
Studio Sessions
And check out what we've been creating with in the studio:
Studio Sessions
Faber-Castell Design Memory Craft PITT Pastel Pencils
Additional Design Memory Craft Inspiration on their BLOG and FACEBOOK PAGE
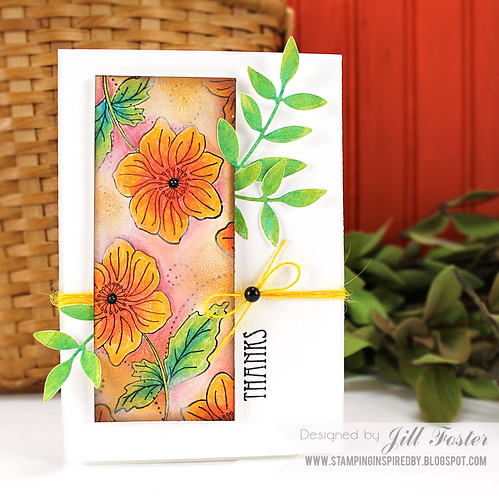
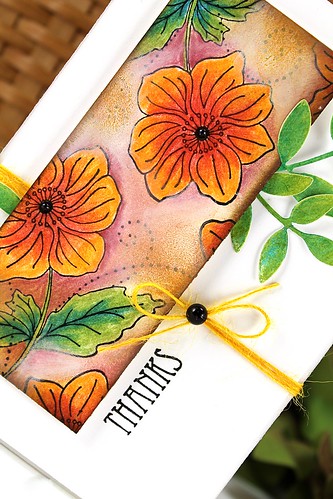
To kick things off this week I started with a Penny Black floral stamp (30-123 Fancy Flowers) that I've been itching to ink up.
Studio Sessions
I stamped the floral image several times onto white cardstock. Next I colored it with the PITT Pastel Pencils.  I started with my darkest colors and then blended with the lighter colors. I did the same for the Penny Black Creative Die Leaves as well.  To create the background, I colored around my image with the PITT Pastel Pencils and blended with my fingertip as well as the white PITT Pastel Pencil.  I also added a bit of Gesso using my fingertip for additional blending.  Finally, to warm up the background, I colored heavily with a yellow PITT Pastel Pencil onto a piece of scratch paper, rubbed my finger on the scratch paper, and then rubbed my finger around the outer edges of my stamped piece to transfer the color.  The effect is almost a "chalky" distressed look. I also did this with the brown PITT Pastel Pencil.  To finish things off I added May Arts Jute and black pearls. 
Studio Sessions
Now, here's my FAVORITE part about Studio Sessions.  Head on over to Elizabeth's blog to see what she's created in the studio!
Studio Sessions
I haven't seen it yet, and I'm sure it's amazing, so I'm heading over there with ya!

November 4, 2013

Introducing Studio Sessions

Something very close to my heart is coming this week...
Studio Sessions
See you tomorrow with the full reveal!

Fan Favorites!

I am so excited about this I just HAD to mention it here so you don't miss out.  
I've had a peek at the selected stamps and they are some of my personal faves!
use this
Click HERE for all of the details and HERE to join the club.